Social login addon lets your students register or log in using their social accounts, securely and instantly. They don’t need to go through the process of entering or managing the username or password. This also builds trust between you and your students related to security.
How to enable the Social Login addon?
Navigate to the Addon manager by clicking on the “Addons” option from the left menu.
Enable the toggle button in front of the “Social login” addon.

How to enable login with Google in Acadlix?
Navigate to the Acadlix settings by clicking on the “Settings” option under Acadlix in the left menu.
Click on the “Authentication” option.
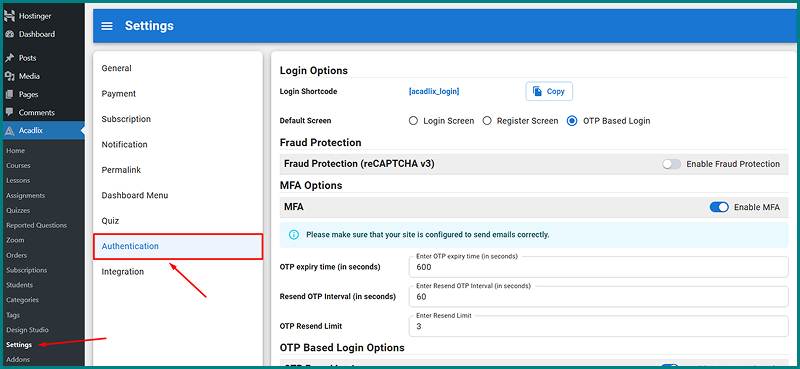
Scroll down to “Social Login”

Click “Enable Google Login”

Click Save.
How to Create a Google Client ID and Client Secret?
You can easily create a Google Client ID and secret by following these simple steps.
Log in to the Google Cloud Console ( https://console.cloud.google.com/ )
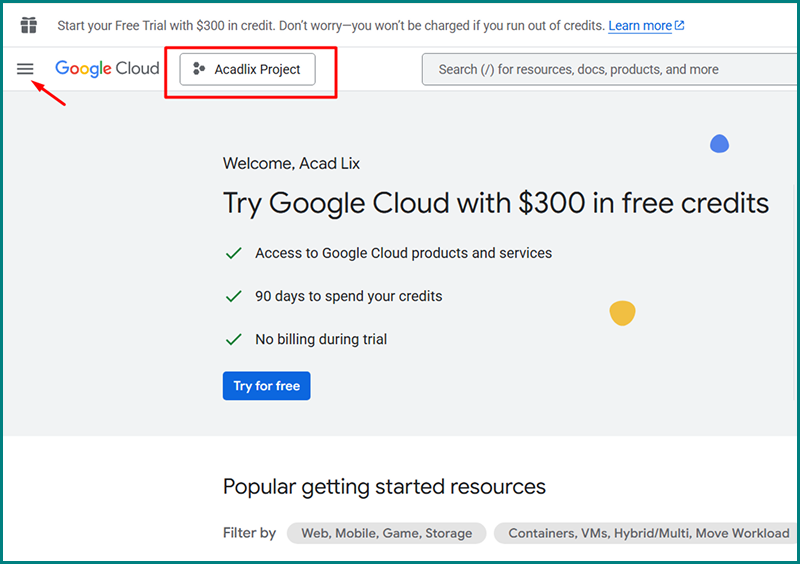
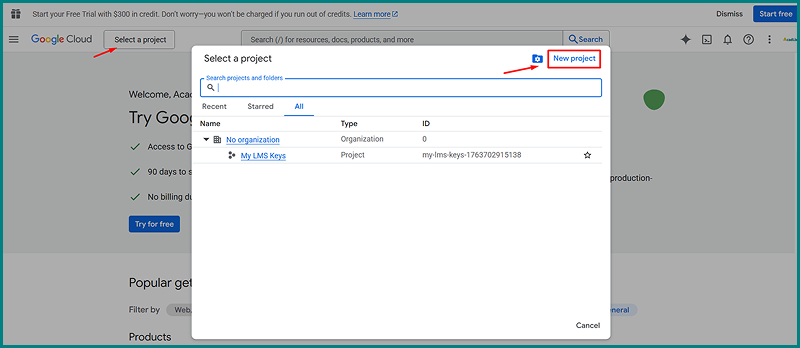
Click on Select a project.
Now a modal will appear, either select an existing one or click on New project.
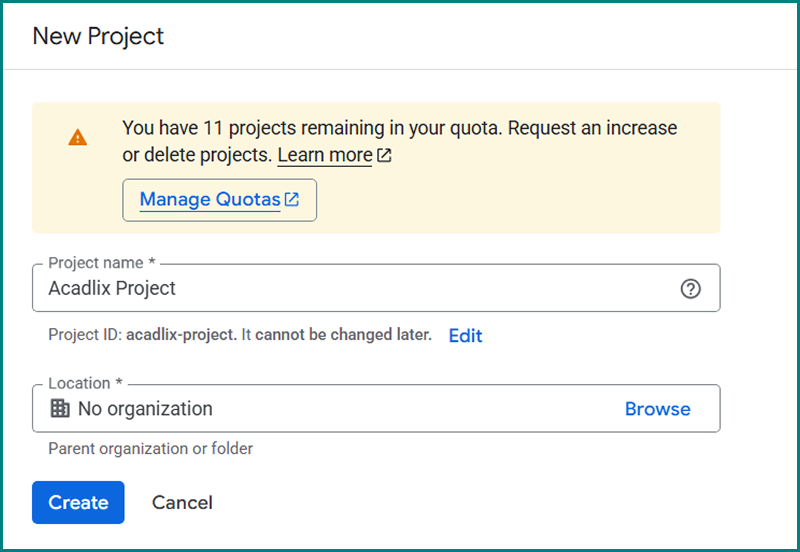
Enter a Project name and click the Create button.
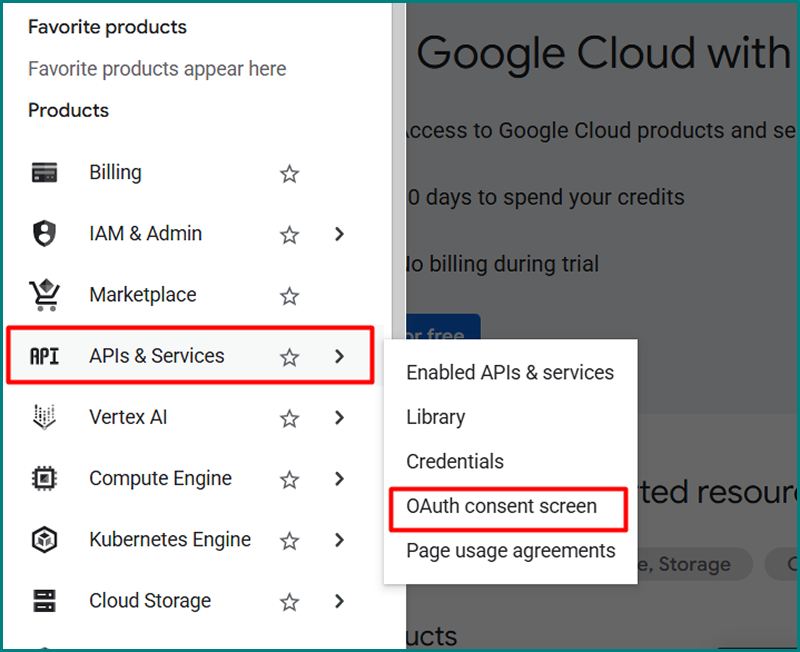
Now navigate to the API & Services -> OAuth Consent Screen using the left-hand menu.
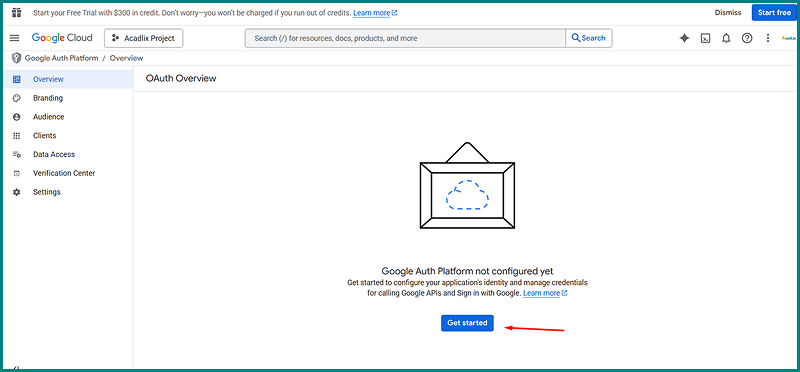
Click the Get Started Button.
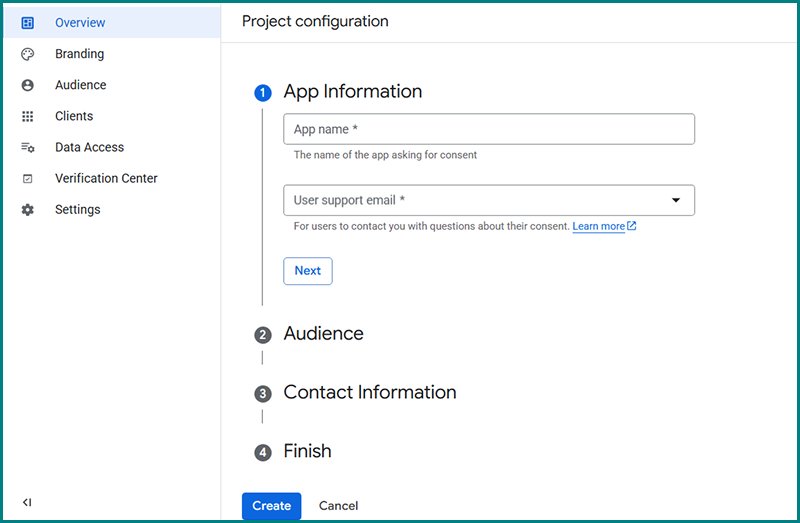
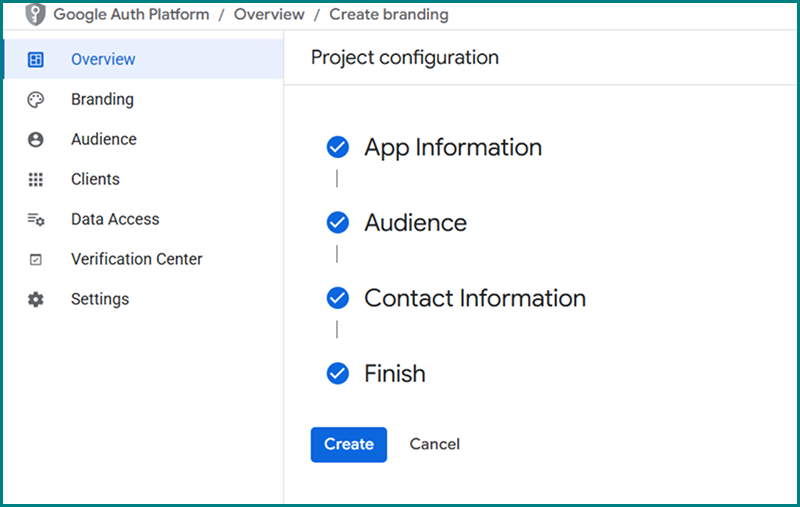
Project Configuration
Enter the App name and select an Email and click next.
Select the audience as External and click next.

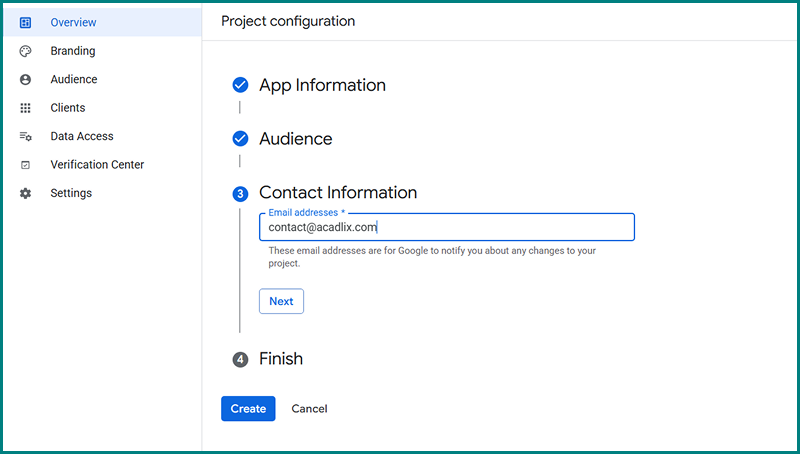
Enter the contact information (email) and click next.
Select the Google user policy by clicking on checkbox and click Continue.
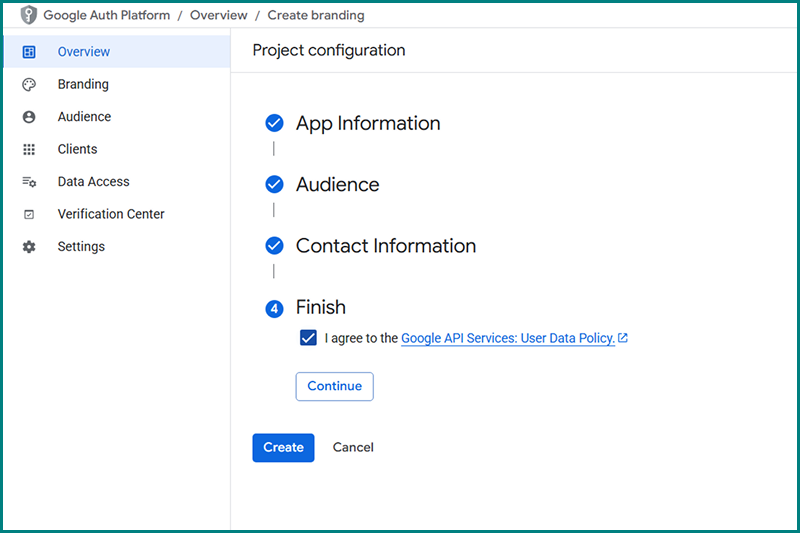
Click Create button.
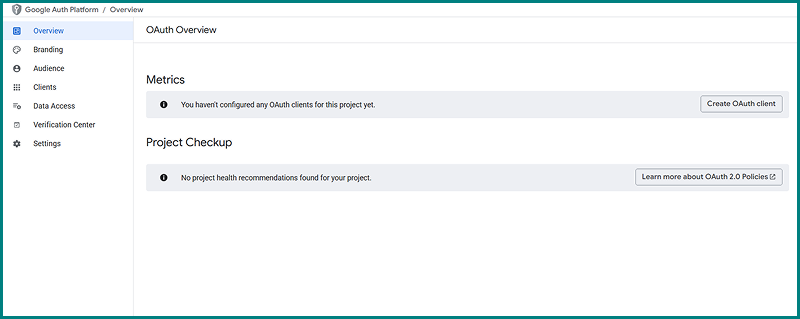
Create OAuth Client
Now, from the OAuth overview page, follow the steps below to create an OAuth client.
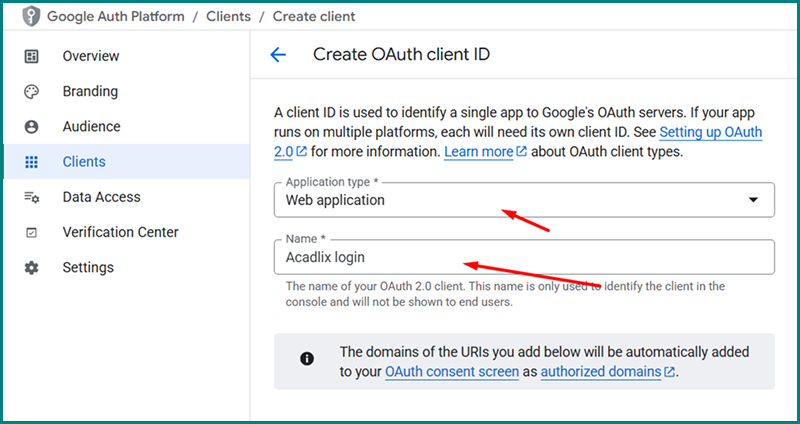
Click Create OAuth Client button.
Select Web Application under Application type.
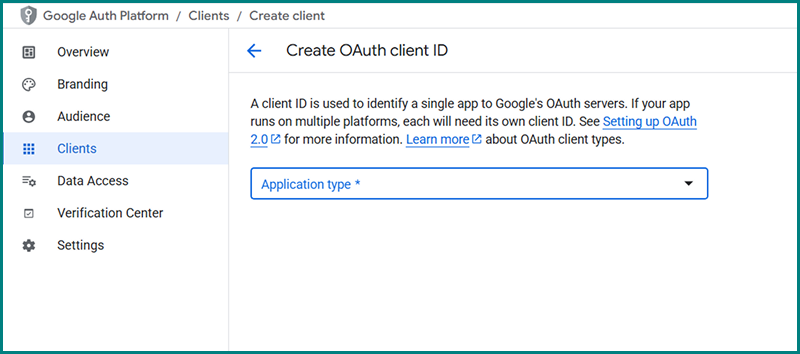
Give it a name.
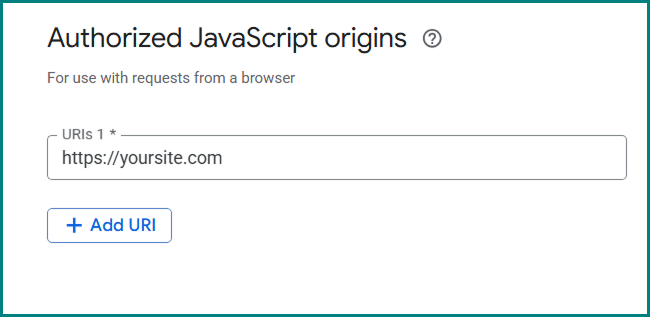
Under the Authorized JavaScript origins, add the URL of your domain/website.
Click on Add URI under Authorized redirect URIs.
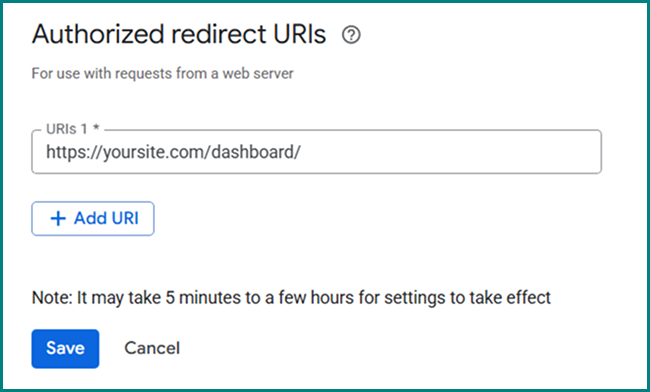
Enter the redirect URIs as https://yoursite.com/dashboard
Note: Replace yoursite.com with your domain name.
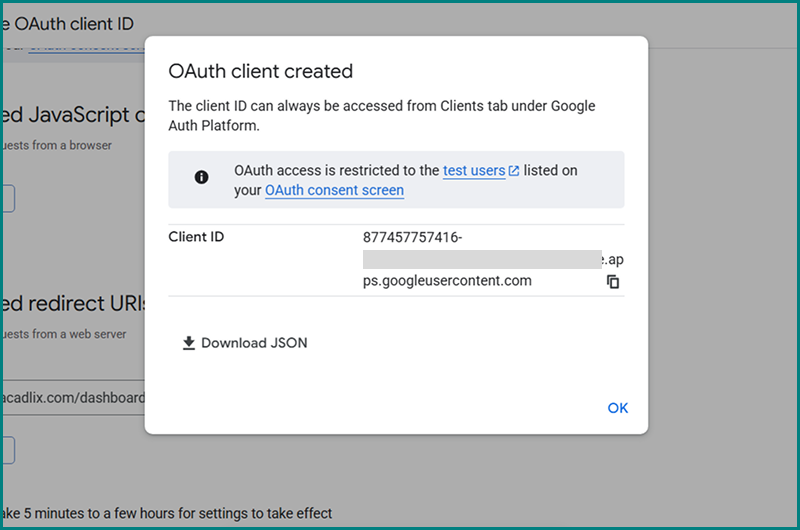
Now copy the client ID and click Ok.
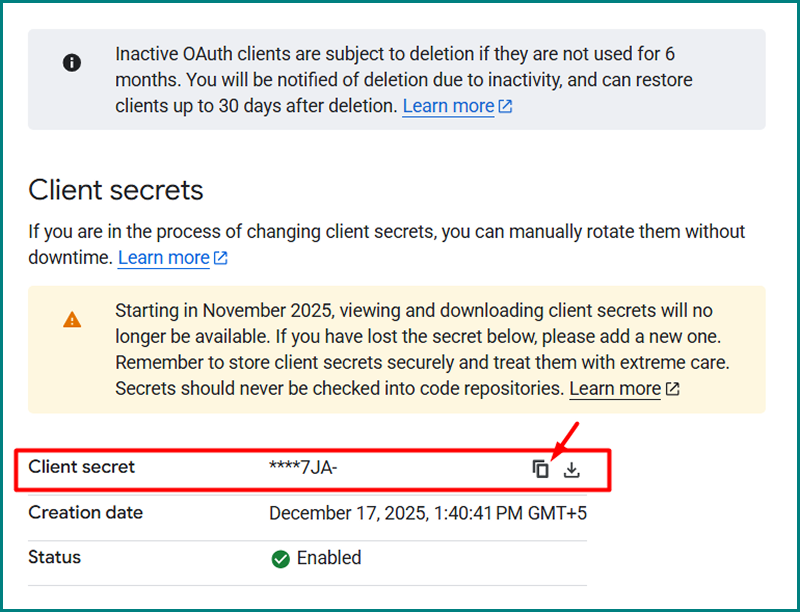
Now, under the client, click on the newly created “Client Name.”
Now scroll down to get the client secret.
How to configure the Google OAuth client ID and client secret with Acadlix?
Navigate back to the Acadlix Settings → Authentication → Social Login
Copy the client ID from the Google OAuth Page and paste it here.
Do it same for the client secret.
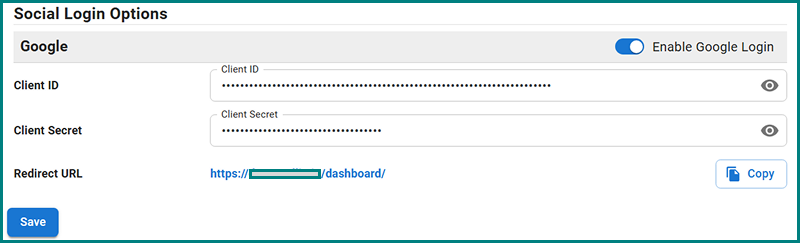
Click save
Congratulations! You have successfully configured the Sign in with Google for your Acadlix-based eLearning platform.